This blog post provides detailed steps on how to add a text watermark (also referred to as a stamp) to an image as it is uploaded to a SharePoint library. For this scenario, we will watermark the image with the filename (excluding the file extension) and the date it was added to the library.
To do this we will use the Encodian connectors ‘Add Text Watermark to Image‘ action.
Guidance: Adding a watermark (or stamp) to an image with Power Automate
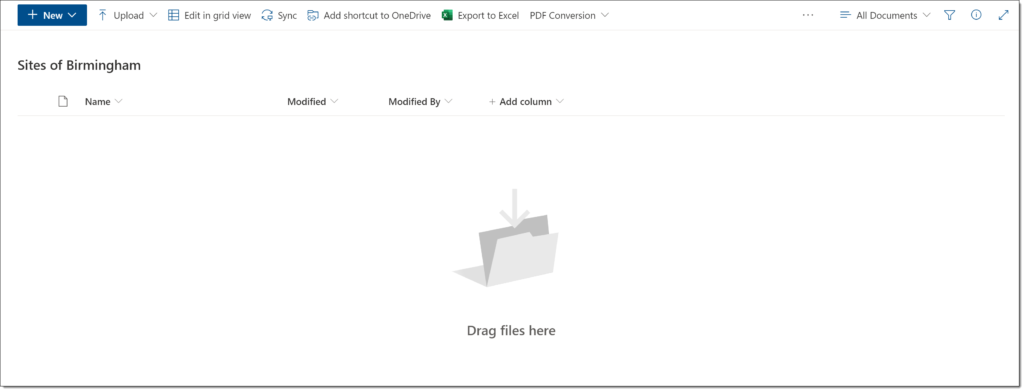
A new SharePoint library called ‘Sites of Birmingham’ has been created where we will store images of the UK’s fabulous second city (No bias here!).
Now let’s configure the flow!
1. Launch Power Automate and create a new ‘Automated flow–from blank‘
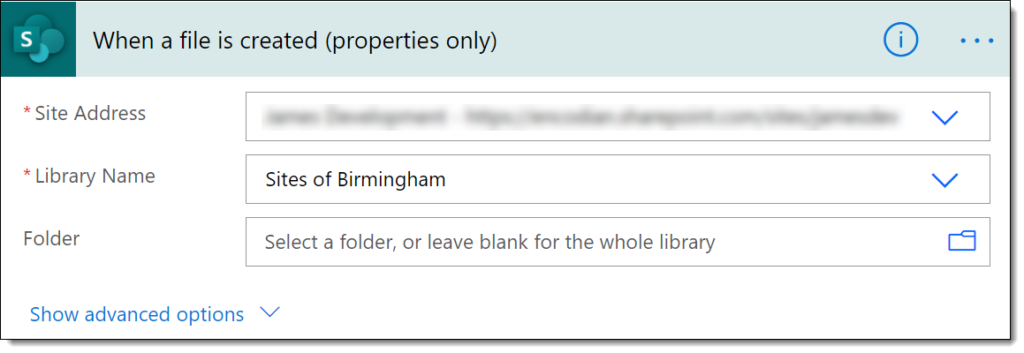
2. Give the Flow a meaningful name and select the SharePoint ‘When a file is created (properties only)’ trigger action. When you are happy click ‘Create’

3. Configure the Trigger action to respond to files added to the ‘Sites of Birmingham’ library.
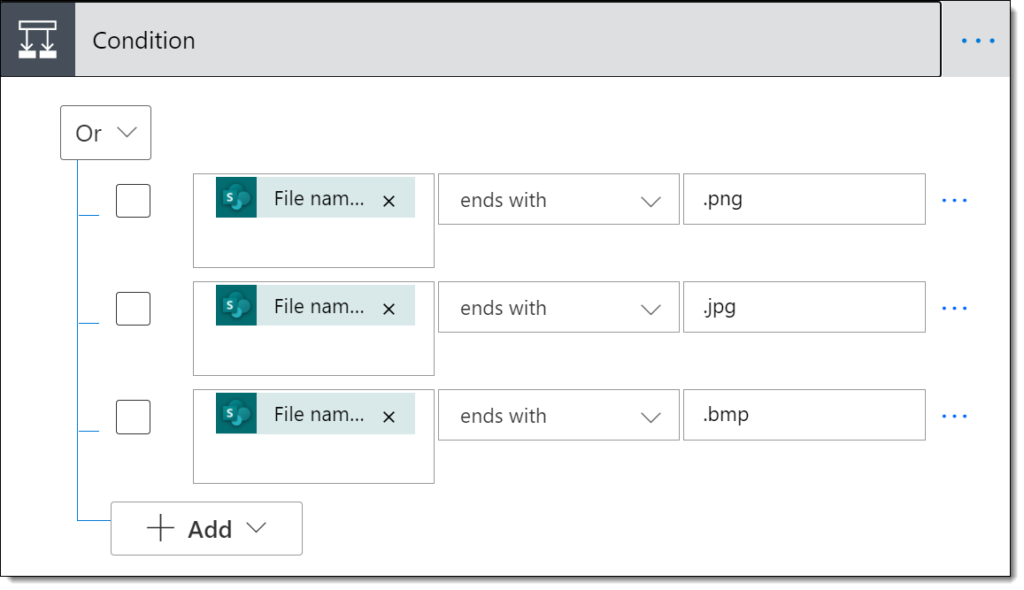
4. Next we need to check that the file that has been added is of an image format. To do this we can use a ‘Condition‘ action and check the ‘File name with extension‘ property returned from the trigger ends with either .png, .jpg or .bmp
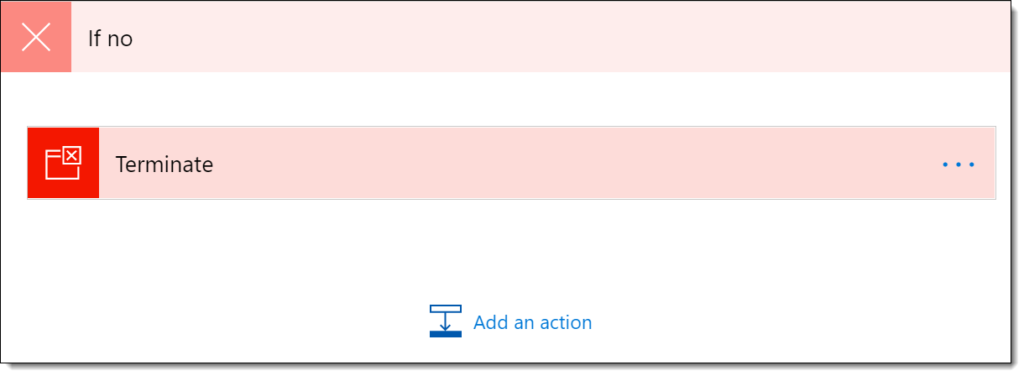
5. The negative route of the condition should terminate the flow.
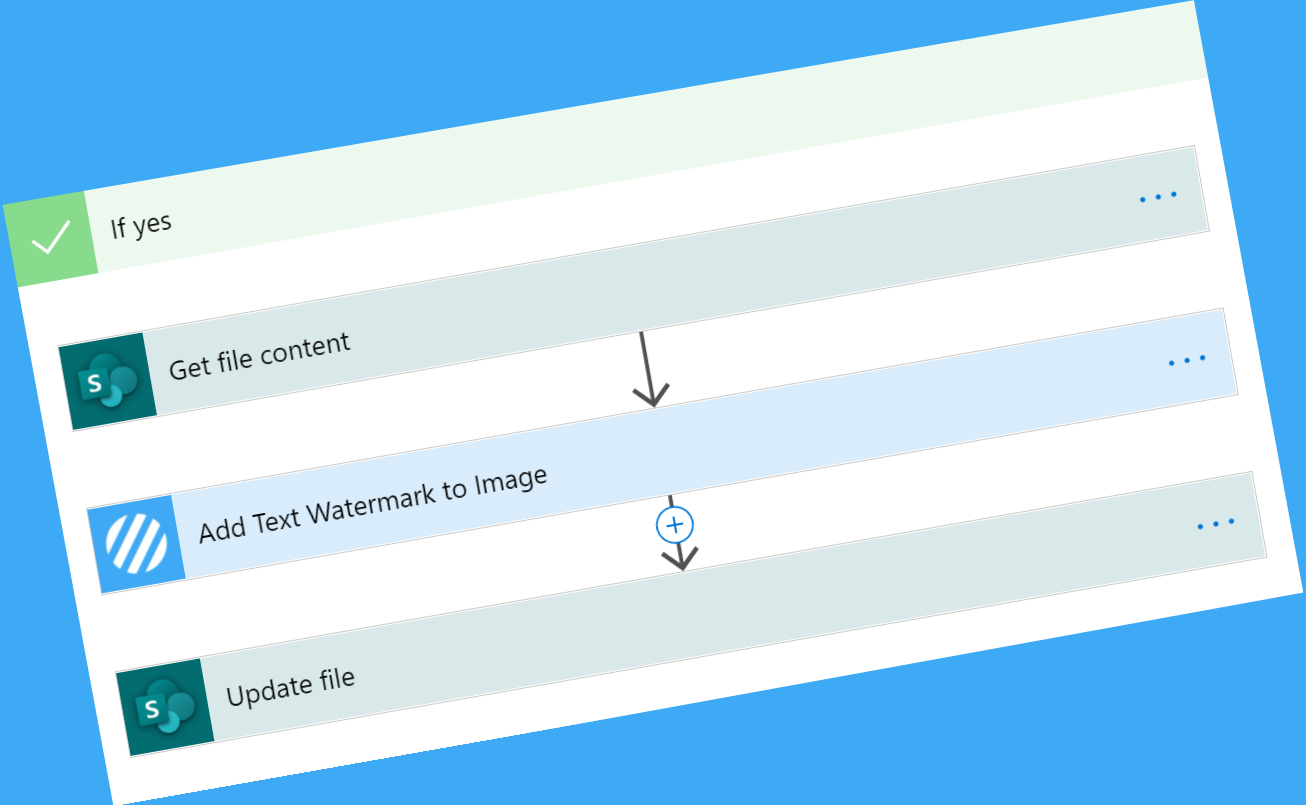
6. The positive route of the condition will then get the file content, add the watermark and finally update the image in the library.
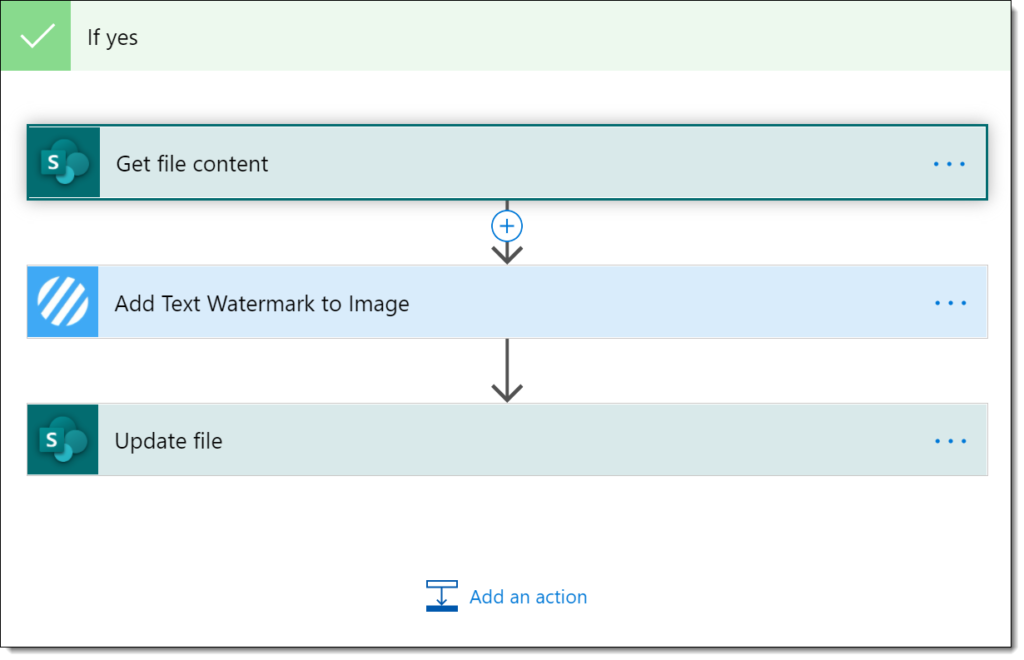
Let’s break down those steps.
6a. ‘Get file content‘ will retrieve the base64 encoded content of the file from the library using the ‘Identifier‘ property returned from the trigger.

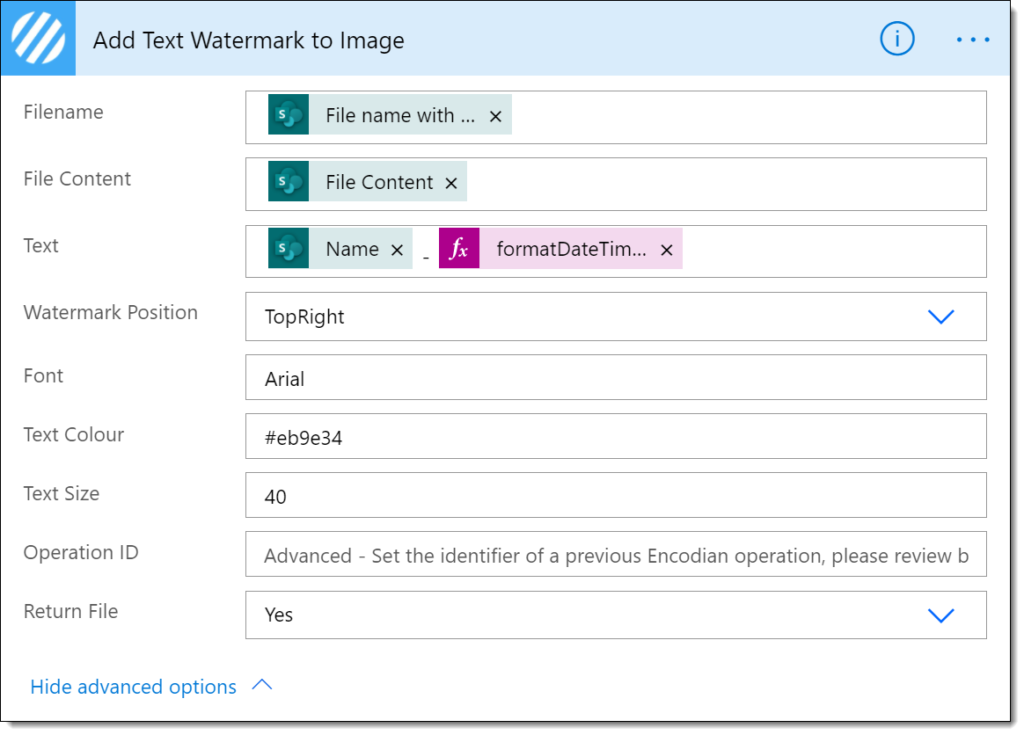
6b. We then pass the file content returned by the previous action to the Encodian ‘Add Text Watermark to Image‘ action specifying the following properties:
- Filename – ‘Filename with extension“‘property returned from the trigger action
- File Content – ‘File Content‘ property returned from the ‘Get File Content‘ action
- Text – ‘Name‘ property from the trigger action followed by today’s date formatted as ‘DD/MM/YYYY‘
- Watermark Position – TopRight
- Font – Arial
- Text Colour – #eb9e34
- Text Size – 4
6c. Finally, we call the ‘Update File‘ action to commit the changes to the file back to the ‘Sites of Birmingham‘ SharePoint library, passing in the ‘Identifier‘ property returned from the trigger action and the ‘File Content‘ property returned by the Encodian ‘Add Text Watermark to Image‘ action.

7. With the flow complete we are ready to test. We will use the following two images which will be uploaded to the ‘Sites of Birmingham’ SharePoint library.


8. And here is the output!


Finally…
Hopefully, this has provided some insights into the practical use of this powerful new action from Encodian.
If you have any questions or feedback, or if you need help with your Flows, at Encodian we are always happy to help. Just drop us an email at support@encodian.com and one of the team will be in touch.
