Lots of software products often have the ability to extract data in a CSV format for consumption by other solutions, this provides a low-cost integration point between systems. In this blog post, I want to showcase a “no-code” solution for parsing CSV data before populating a SharePoint list using Microsoft Power Automate.
In this fictional scenario, our company purchases marketing data from a 3rd party agency who distribute it to us via email. I want to parse the data and populate a SharePoint list where our internal Marketing team can easily consume, manipulate and action it. To accomplish this I will use standard Microsoft Power Automate actions and the Encodian Parse CSV action to read the CSV and add the items to the SharePoint list.
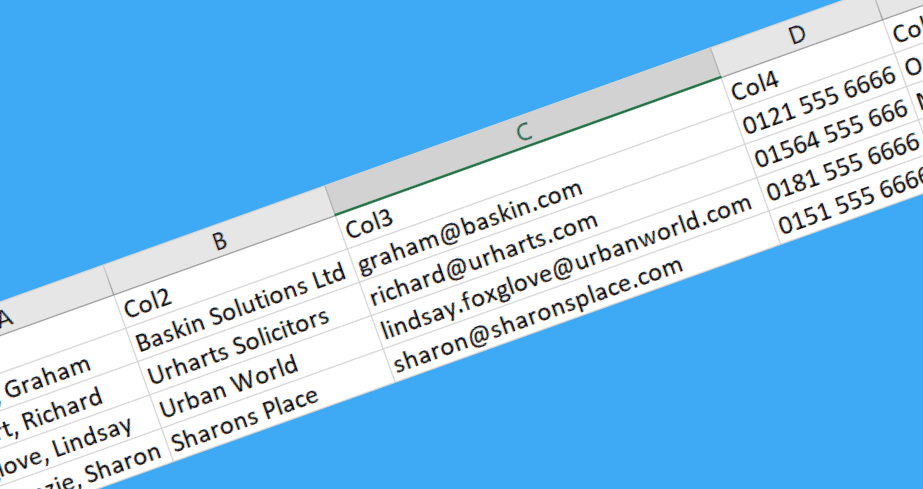
The CSV data provided by our Marketing Agency is basic, it contains 5 columns; contact name, company name, email address, telephone number and job title. Rather unhelpfully they have provided generic column names in their extract, fortunately, the Encodian action can handle this scenario!

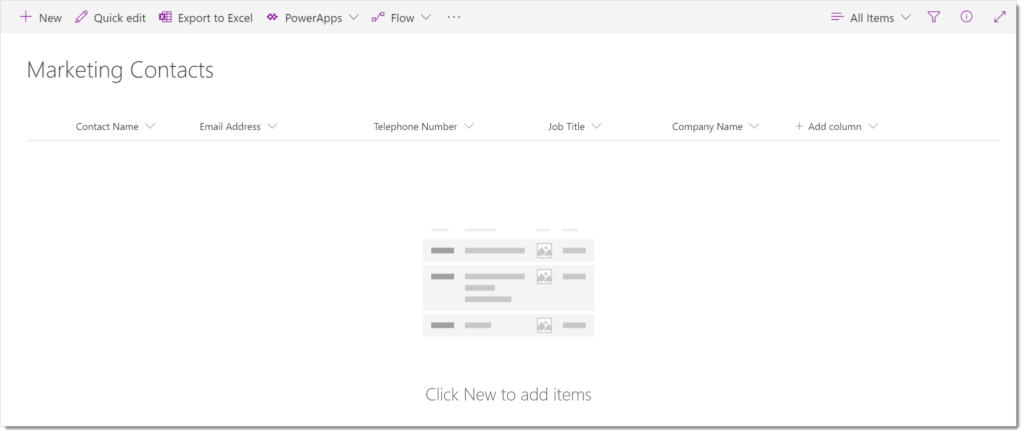
I’ve created a SharePoint list to store the output, at the moment it contains only fields mapped to those in the CSV file but it could be augmented with further fields to track client contact forming the start of a basic CRM solution.

OK, now we know what the CSV looks like and we have somewhere to store the data, let’s get onto the good bit and build the Flow!
1. Launch Power Automate – https://powerautomate.microsoft.com and create a new ‘Automated flow–from blank‘
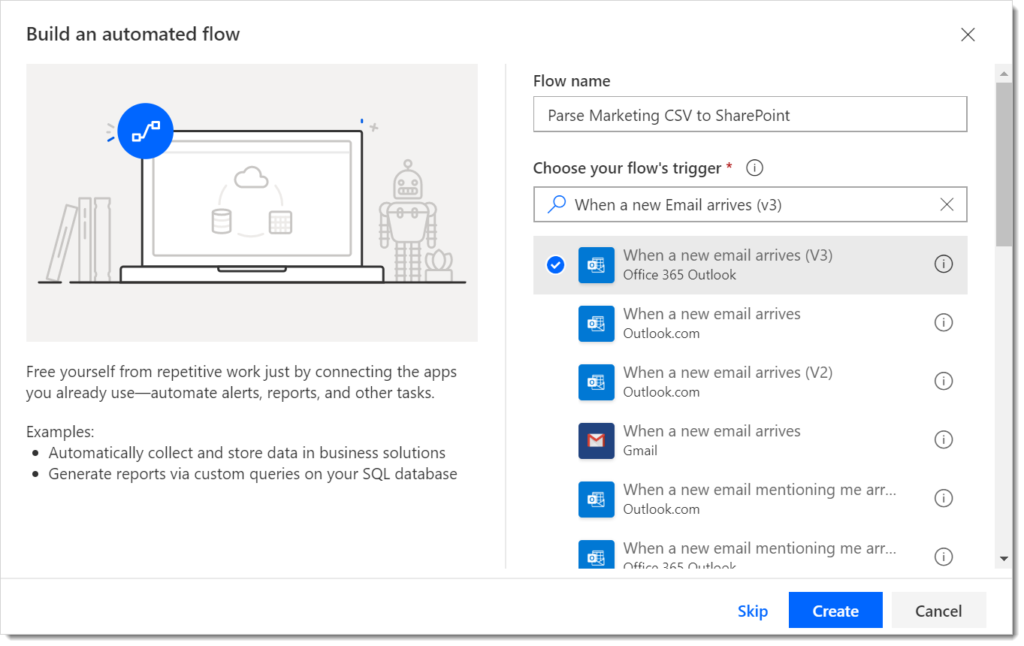
2. Give the Flow a meaningful name and select ‘When a new email arrives (V3)’ as the trigger action. When you are happy click ‘Create’

3. Configure the Trigger action. In this example, I am responding to emails arriving in my Inbox, but it could just as well respond to a specific folder or mailbox. Make sure ‘Has Attachment’ and ‘Include Attachments’ are set to ‘Yes’ and the ‘Subject Filter’ is set to ‘CSV’. This way the Flow won’t be firing for all emails coming in!

4. Later on in the Flow I want to do some string manipulation on the contact name so that it is formatted nicely in the SharePoint list. To help with this I need to create 3 variables; Contact Name, Forename and Surname.


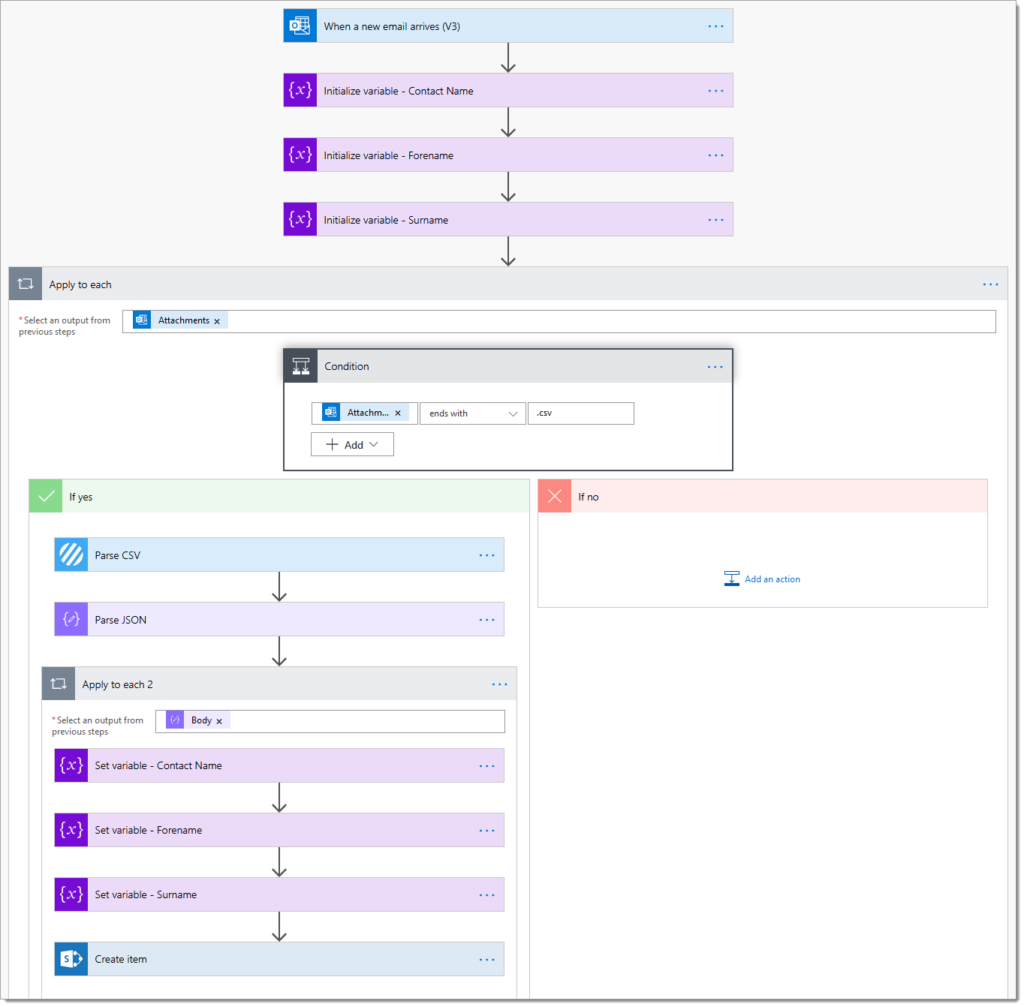
5. Now I want to iterate through the attachments in the email. It’s possible there may be more than one CSV and it’s also possible that there may be other attachments that aren’t CSV’s so I need to handle this before continuing. The ‘Apply to each’ action should act upon the ‘Attachments’ output from the trigger action. I then have a ‘Condition’ action that checks that the current attachment ‘Attachments Name’ property ends with ‘.csv’

Here’s a close up because that image above is a bit tiny!

6. Assuming all is going well at this point and I have received an email with a .csv attachment the next step is to parse the contents of this CSV file. On the positive side of the ‘Condition‘ I have added an Encodian ‘Parse CSV’ action with the following parameters set:
- File Content – Attachments Content property
- Delimiter – this defaults to a comma, but if the input file were separated by a different character such as a ‘|’ or ‘@’ I could specify that here.
- Column Headers – remember the input file had generic column headers like ‘Col1’ and ‘Col2’, well this can be overridden here by specifying our own column headers. If I didn’t specify enough headers for the number of fields in the CSV then the action would auto-generate missing ones for me.
- Skip First Line – this defaults to ‘Yes’ as the assumption is that the first line will contain the headers. If there were no headers in the CSV then I could set this to ‘No’ and either specify my own headers or let the action generate them for me.
NOTE: You do not need to specify the column headers, please leave this value blank unless you wish to override the columns headers names present in the CSV File.

7. At this point, I am going to run the Flow so that I can take a copy of the output of the ‘Parse CSV‘ action for use in subsequent actions. To run the Flow I will send an email to myself containing the subject line ‘Marketing CSV’ and with the CSV file added as an attachment. Once the Flow has executed I shall take a copy of the JSON in the ‘CSV Data’ output parameter and store it in the clipboard or copy it to a suitable text editor such as notepad.

8. Next I am going to add a ‘Parse JSON’ action so I can utilise the JSON output from the ‘Parse CSV’ action. I’ll pass in the ‘CSV Data’ value from the ‘Parse CSV’ action then I will use the JSON I copied to the clipboard to generate the JSON schema by selecting ‘Generate from sample’ and pasting it in.

If you require further guidance on how to Parse JSON data please review the following post: Parsing JSON returned by Encodian Actions
9. Now I will add another ‘Apply to each’ action so I can iterate through the output of the ‘Parse JSON’ action and add the content to the SharePoint list. Before I do this though, remember those variables we created back in step 4? Well here I can use them to format the contact name from ‘Sales, James’ to ‘James Sales’ which will be much more readable in the SharePoint list.
First I will assign the ‘Body’ output from ‘Parse JSON’ for the ‘Apply to each’ to act upon. I will then assign the ‘ContactName’ property from ‘Parse JSON’ to the ‘Contact Name’ variable.
I’ll use an expression to split the ‘Contact Name’ variable into an array and then select the second item in the array to assign to the ‘Forename’ variable. I’ll use the same expression to set the ‘Surname’ variable but will take the first item in the array instead.
Here are the expressions if you want to do something similar:
- Forename – split(variables(‘ContactName’), ‘,’)[1]
- Surname – split(variables(‘ContactName’), ‘,’)[0]

10. Finally, I have the data in the format I want so I can use a ‘Create Item‘ action to add the data to the SharePoint list.

11. Let’s run the Flow again and see what appears in the list!

Phew, it all worked! If you’ve been following this through then you should now have a Flow that looks like the one at the bottom of this blog.

Finally…
If you have any questions or need help with your Flows, at Encodian we are always happy to help, just drop us an email at support@encodian.com and one of the team will be in touch.


2 Comments
As usual, brilliant and easy to understand article.
Comments are closed.