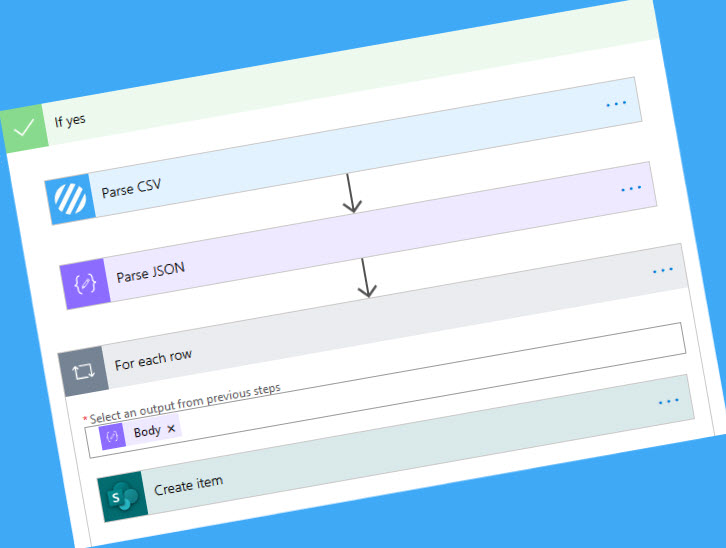
Understanding how to parse a CSV file and add that data to SharePoint sounds like a daunting task, but it needn’t be!
You might want to parse a CSV file because you want to import data from an existing system into SharePoint, or you want to export SharePoint data into a CSV file for use elsewhere. This article will show you how to do both using Microsoft Power Automate.
What is a CSV file?
Well, a CSV file is actually short for comma-separated values. A CSV file stores information like a database and it’s in a very basic text format. You can use an application on your computer to edit these files but there are also websites out there that will allow you to create, download or edit these files for free.
What’s the difference between CSV and JSON?
JSON stands for JavaScript Object Notation, while CSV stands for Comma-separated values. JSON is a file format that is used to store data in a structured manner. It is easy to read and write, and there are many online tools that can help you to create or edit the JSON file.
A CSV file is similar to a spreadsheet, and it contains comma-separated text values. Each value has its own cell, separated by commas, and each line represents one row of data.
The main difference between parse JSON and parse CSV files is that the former stores information about objects in an organized manner while the latter stores tabular data in rows and columns.
So, how do I do it?
This video was created in a response to the Power Automate community request to outline how to add data contained within a CSV file to a SharePoint list using Power Automate.
Please also review the following supporting blog posts:


